1
Prepare and preview the post
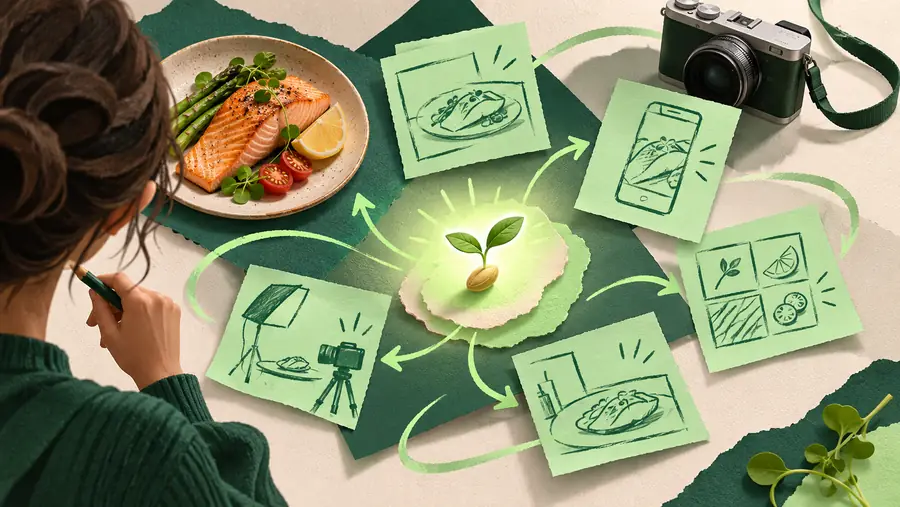
Open Instagram and start a new post. Select the intended media, make your edits, and write the caption. Check the crop, cover, tags, and any location or accessibility details you want to include. Read the finished post as a viewer would: a scheduled typo is still a published typo.
2
Find the scheduling control
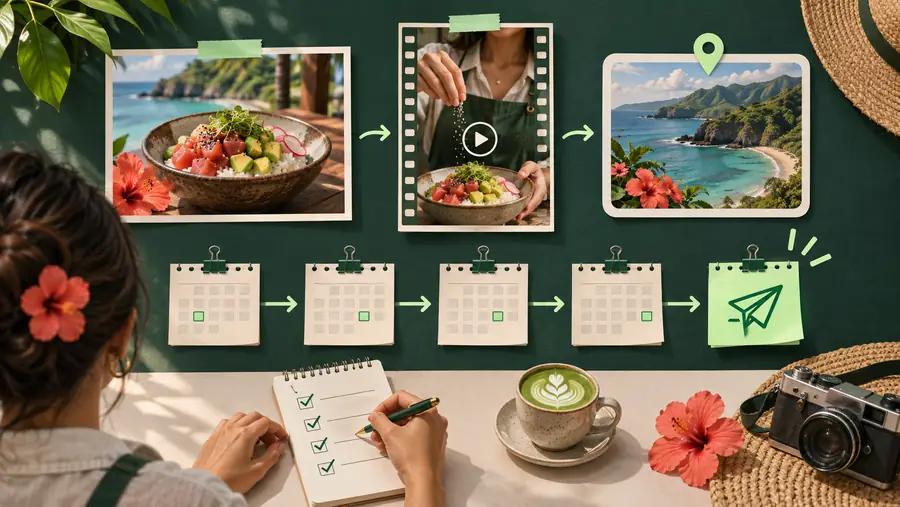
Before sharing, look in the final publishing screen for scheduling, often under Advanced settings or More options. If the option is available, enable it and choose a date and time. Confirm the time zone displayed by your device and review the selected time before saving. Do not assume that seeing a draft means it has been scheduled.
3
Save, then check the queue
Complete the scheduling action instead of tapping the control used to publish immediately. Open Instagram's scheduled content area and verify the media, caption, and intended date and time. If the post is missing, return to the draft or publishing flow and resolve that before relying on the plan. Check the post again after its scheduled time.